Blooming in Vibrancy: Waterlily Process Work
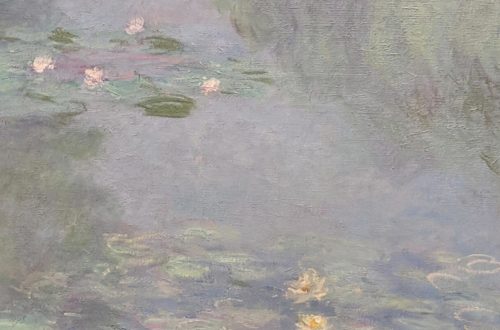
I had recently bought the Terry Ludwig’s Vibrant set specifically for one project. Waterlilies. I had taken pictures of these beautiful flowers when I was at the Denver Botanic Gardens last summer. These lilies were in full bloom with such vibrant colors. I was very excited to start this project when I received my new pastels; I knew they would be perfect for the intense colors in the waterlily.
Under Painting Process
Below I’ll walk you through my process of this piece, “Blooming in Vibrancy”.
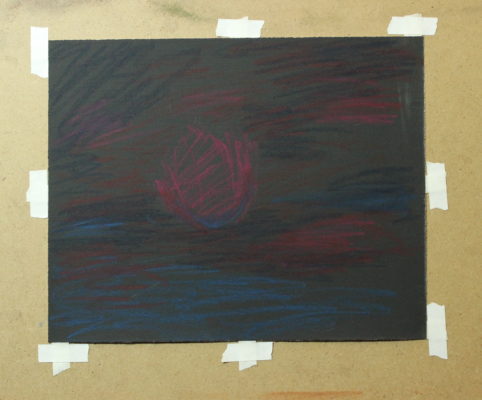
I began work on dark UArt 400 grit sanded paper. Using a dark paper it was easier to make the more saturated colors stand out. I roughed in my shapes with Derwent’s Inktense sticks. These sticks are a great way to block in your under painting.
I painted in my basic shapes with a brush and water. while the paper was still wet I went back in with the sticks and added more pigment to the painting. This is another way to paint with inktense sticks, a dry to wet application. The sticks melt onto the paper like butter.

The Uart paper dries flat to my board and there is little buckling. This is what’s so great about this sanded paper, it can take a wet application without tearing or the surface changing. I’m not to worried about the looseness of the colors. I want some of the colors bleeding into other shapes to create a painterly effect. Also most of these color get covered up in the end. Most of the time, an under painting for me is a guide and can be easily changed. Rarely do these beginning stages show through to the end of a painting.
Beginning Stages
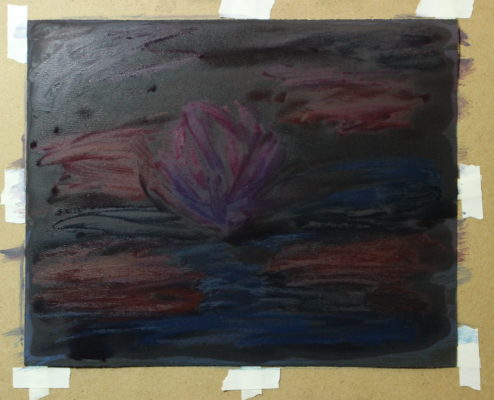
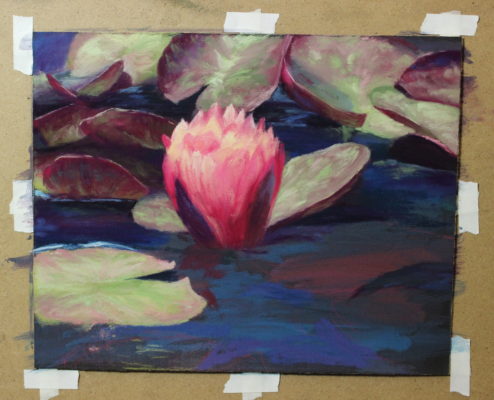
I come back with a pastel pencil in pink and define my shapes. This is my first pass with a pastel. I loosely block in some of dark shadows of the lily pads
I’ve moved on here quickly, working from lily pad to lily pad. I’ve also just placed in some color of the flower for reference to the rest of the painting. I’m sorry I forgot to take pictures of the stages I went through. Below is a more detailed process of one waterlily pad. This was my approach to each section of my painting.
Detailed Process of WaterLily Pad
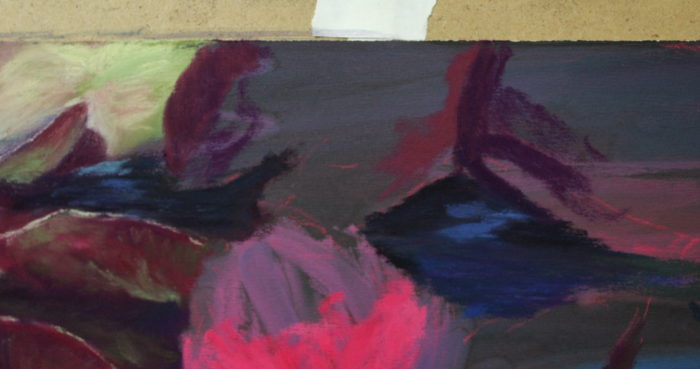
I lay in my darkest and most vibrant sections first. I used a dark red maroon color mixed with a red violet underneath it.
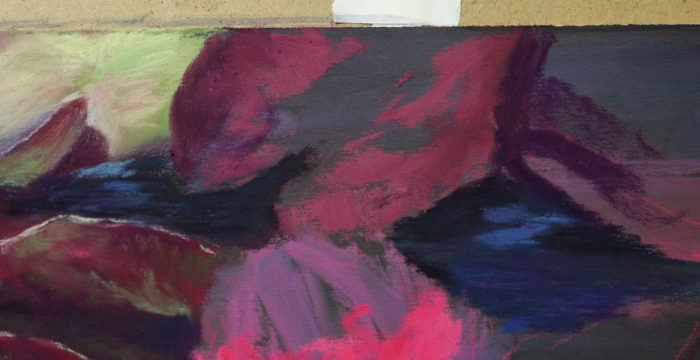
Layering more color I place down a lighter red pink.

For the middle section I lightly color in with a sage green pastel. The greens in this painter needed to be duller than my red. Especially for the tops of the lily pads to mimic there rubber texture.
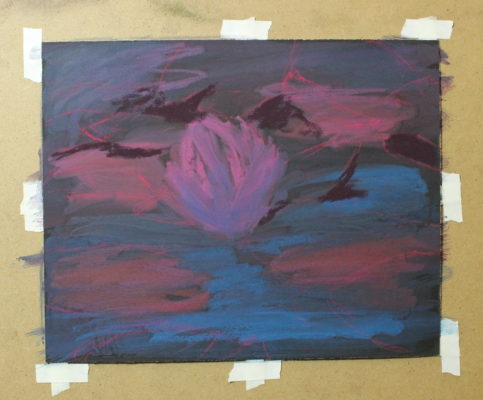
Beginning of Soft Layering

I had place the previous green further than what it was showing my reference because I knew I would be blending a pink on top of it. I was mixing colors on my paper to create a color I didn’t have, a more cohesive look to the painting and to imitate the patterns in the plant. I also layered in some blue to show the light reflecting back into the pad.
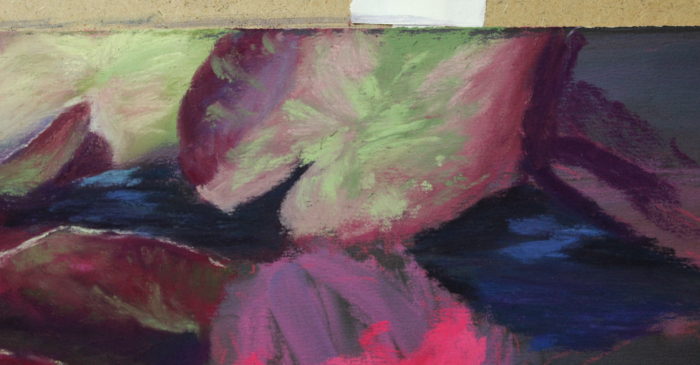
At this stage of the pad, I brought in some darker and lighter greens and began painting in the details. My mark making I followed the shape of the lily pad which gives my painting more depth and form.
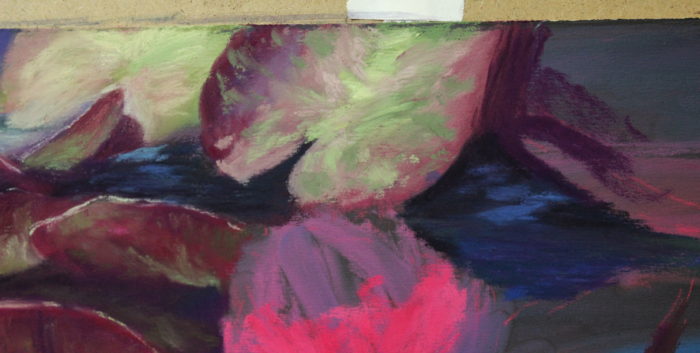
Further refinement of the pad. I added in more vivid greens to the center where light was hitting. The next picture you see I scrub out the color with a lighter and duller pastel. While I liked the color it was calling too much attention to itself and needed to be pushed back.

Final touches on this waterlily pad. This was my process for the rest of my painting, working dark to light and refining the shapes, adding detail in last. I work in sections being mindful of the rest of my painting so as to not overwork a section. What’s wonderful about soft pastel is that I can go back into any section as if the pigment was just a fresh as when I started if I was working in oils or acrylics.
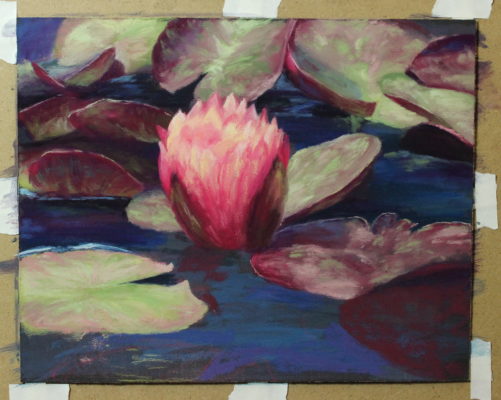
Section by Section Finishing the Painting
The next pictures are photos of section by section. I’m sorry I didn’t take more photos of the waterlily itself. I was too involved in with the painting and completely forgot about taking photos.


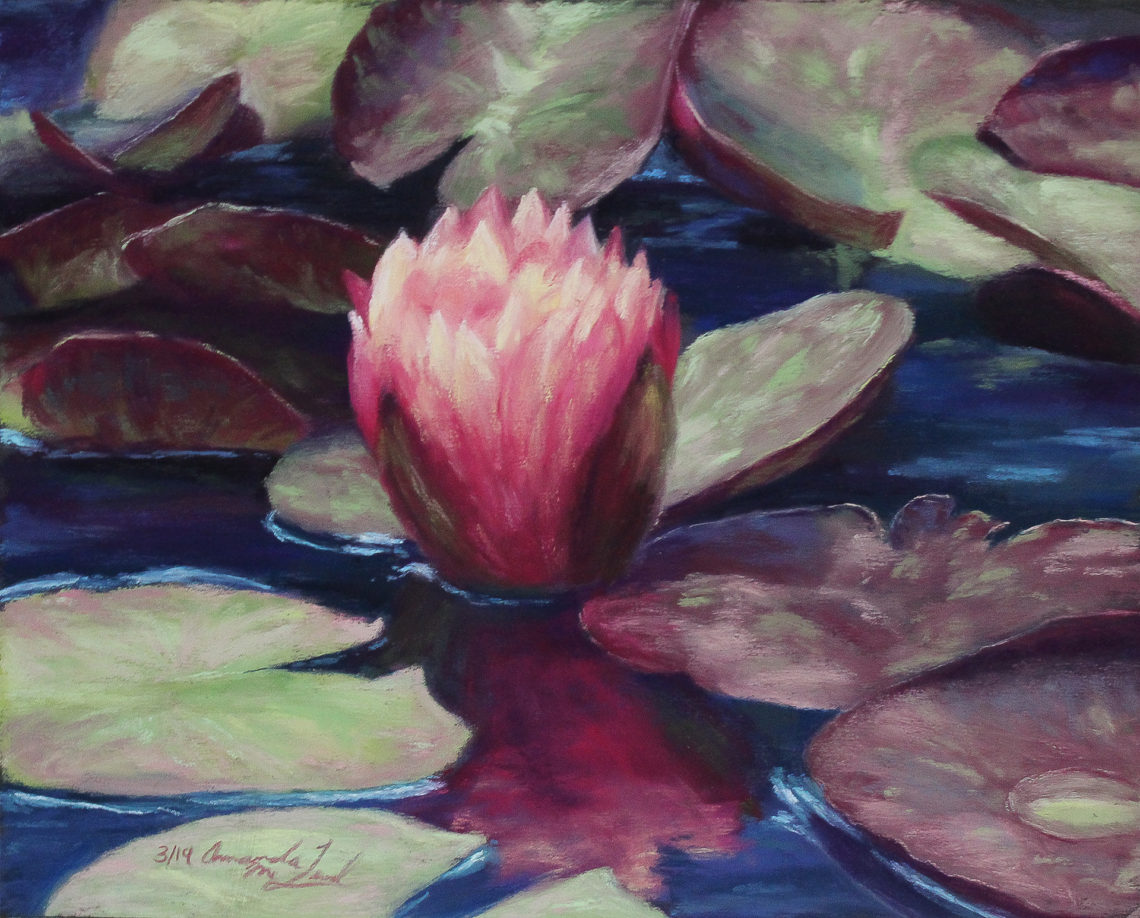
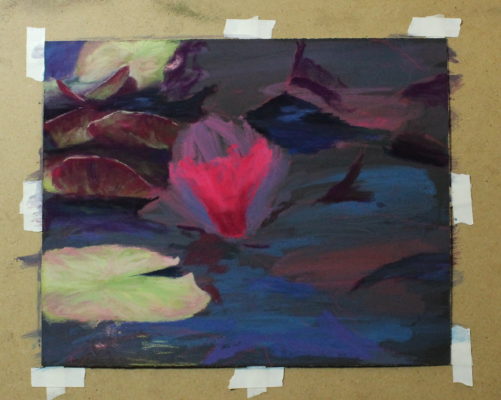
The Finished Waterlily Painting
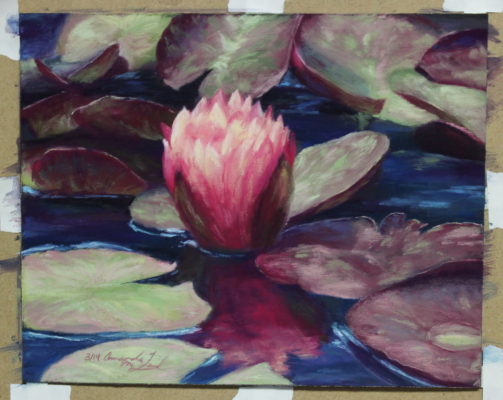
With all said and done, I thought this piece turned out pretty well. I loved getting to play with new pastels and working with some of my favorite complementary colors, yellow green and magenta. I plan to create more water lily paintings in the future making a series out of them. I also want to make a process video working in pastels so you all can see what I’m actually doing. Pastel painting is more than just layering on color. It’s about your mark making, the direction of it and touch of the pastel to paper.
I hope you all enjoyed this post and learned a little bit more a bout my process. For more content from me be sure to follow me on Instagram and don’t forget to subscribe to my emails over on the right.